Appearance
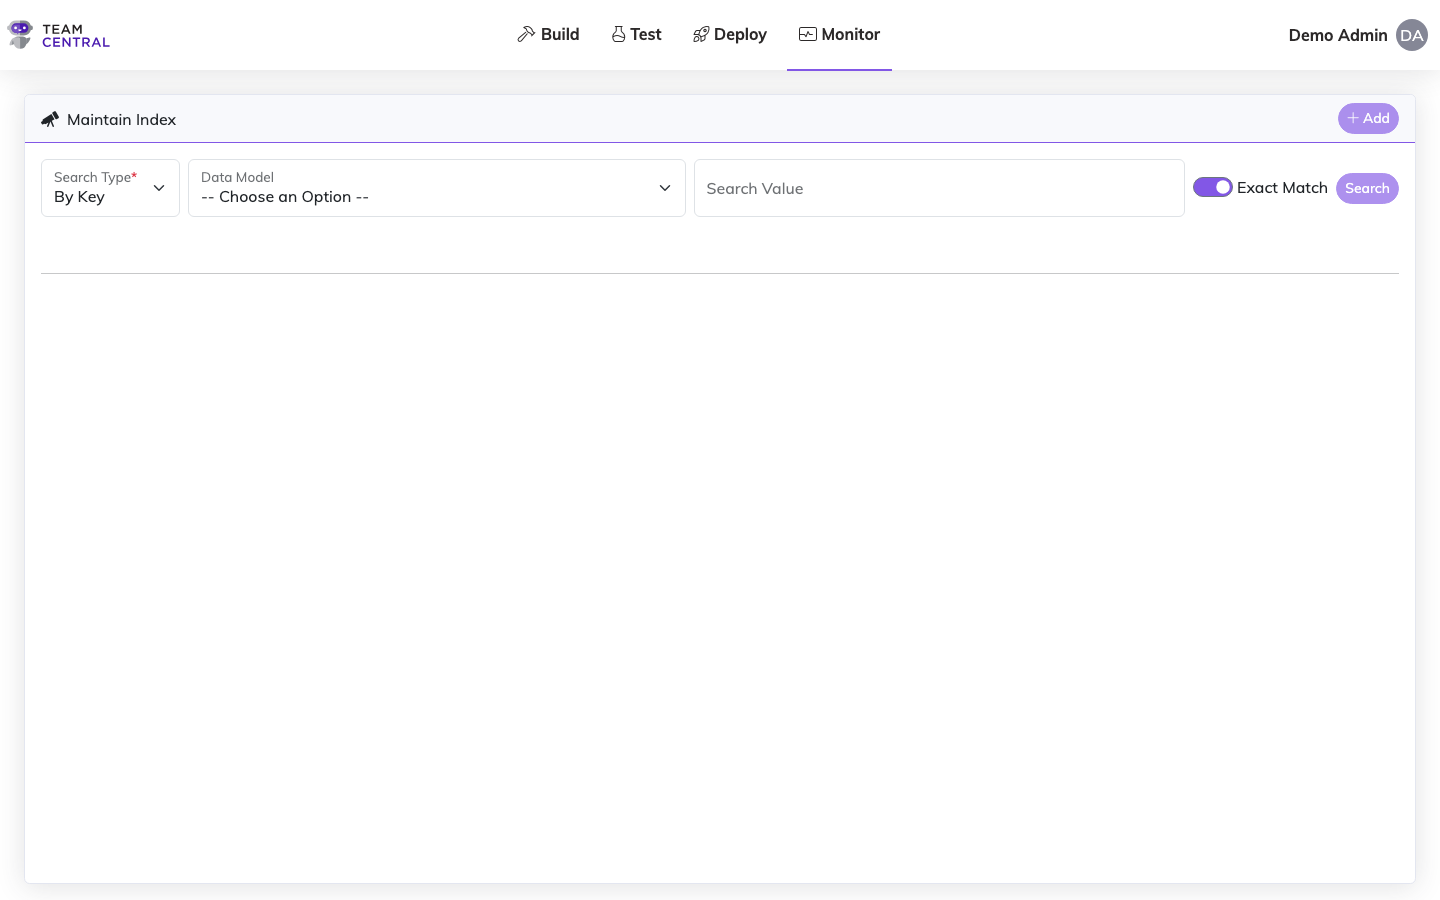
Maintain Index
The Maintain Index page provides tools for managing the entity search index used by the platform. The Maintain Index feature catalogs all of the Keys that associate records between systems. An Index card will be created for each Schema Property being synced within your Data Hubs upon the first sync. Each card will display the source System ID and primary Key for that record.
Key Features
- Index Management — Rebuild or update the entity search index
- Entity Search — Search for specific entities by type and key values
WARNING
You can manually edit existing index records, as well as add new index records; however, it is strongly advised that only those with advanced knowledge perform this task. Modifying the index data can have severe outcomes on your integrations.
Advanced Tool
Indexes are the primary way Central knows how to map the data records between systems (e.g. Customer ID, Purchase Order numbers), so it is imperative that this data is consistent and accurate. All Indexes are displayed in and/or manually added to the Maintain Index feature.
Searching the Index
When searching the Index, users can search by Key, Identifier, or Property.
- Key — Enter a Search Value that references any key data found in that Index. For example, if you search the Customer Schemas for a value of 1234, it will return any indexes that contain 1234 in their Source System IDs.
- Identifier — Identifiers are specific keywords that depend upon the selected Schema. These recognized search fields will be displayed once a Schema has been selected. For example, if you select a Customer Schema, Identifiers might include FullName, Email, etc.
- Property — Any other properties defined on the data model can be used in the search.
Manage the Index
- Select Monitor > Maintain Index.
- Then, use the table below to determine the next steps.
View Indexes
- Select a Search Type and a Schema.
- Enter a Search Value.
- As needed, toggle Exact Match ON or OFF.
- Select Search.
Note
Identifiers are keywords that can be used when searching by Identifier. The applicable Identifiers will be shown below the Search Type once a Schema has been selected.
Add an Index
- Select a Schema.
- Select +Add.
- Select the Primary Keys tab.
- Select the System Source, enter the System Source ID, choose the Key Name (see note below), and select Add. Repeat this step until all necessary Primary Keys are added.
- Select the Fields tab and enter all applicable data (see note below).
- When finished, select Save.
Key Name
The Key Name selector only appears when the selected Schema's data model defines extra keys. It defaults to Id (the standard primary key); any additional keys defined on the data model are listed under an Extra Keys group. Because a row is identified by its System Source, System Source ID, and Key Name, you can add an Id key and an extra key that share the same source system and ID.
TIP
Only keys and a single Identifier per grouping are required when manually adding an index. However, it is strongly advised to enter at least a Name to identify the Index card, as well as additional attributes within the Fields tab.
Edit the Primary Keys and/or Fields for an Index
- Follow the View Indexes steps to find the appropriate Index.
- In the appropriate Index card, select the menu icon > Edit.
- Select the Primary Keys tab.
- To add a Primary Key, select the System Source, enter the System Source ID, choose the Key Name (when the Schema has extra keys), and select Add.
- To delete a Primary Key, select the delete icon in the appropriate row.
- Select the Fields tab; then, edit any of the data as needed.
- When finished, select Save.
Note
To discard current edits and start over, select Reset; or to discard current edits and exit Edit Mode, select Close.
Delete an Index
- Follow the View Indexes steps to find the appropriate Index.
- In the appropriate Index card, select the menu icon > Delete.
- Select OK to confirm.
View Record History for an Index
- Follow the View Indexes steps to find the appropriate Index.
- In the appropriate Index card, select the menu icon > View Record History. The Record History will open in a new browser tab.
- From here, you can select Actions > Re-Run Message or Actions > View Details; see the Messages page for additional information.
Related Pages
- Messages — Inspect individual integration messages
- Error Logs — Investigate processing errors
- Monitor Dashboard — View platform health at a glance
- Key Scraping — Configure how primary keys are indexed